To be able to operate our trolley No. 10 into our new Carbarn, we need to install a trolley wire over the House Track. This page has pictures and movies of that operation. You can also see a report on the building of the new Carbarn and one on the rebuilding of the House Track which are part of this overall project.
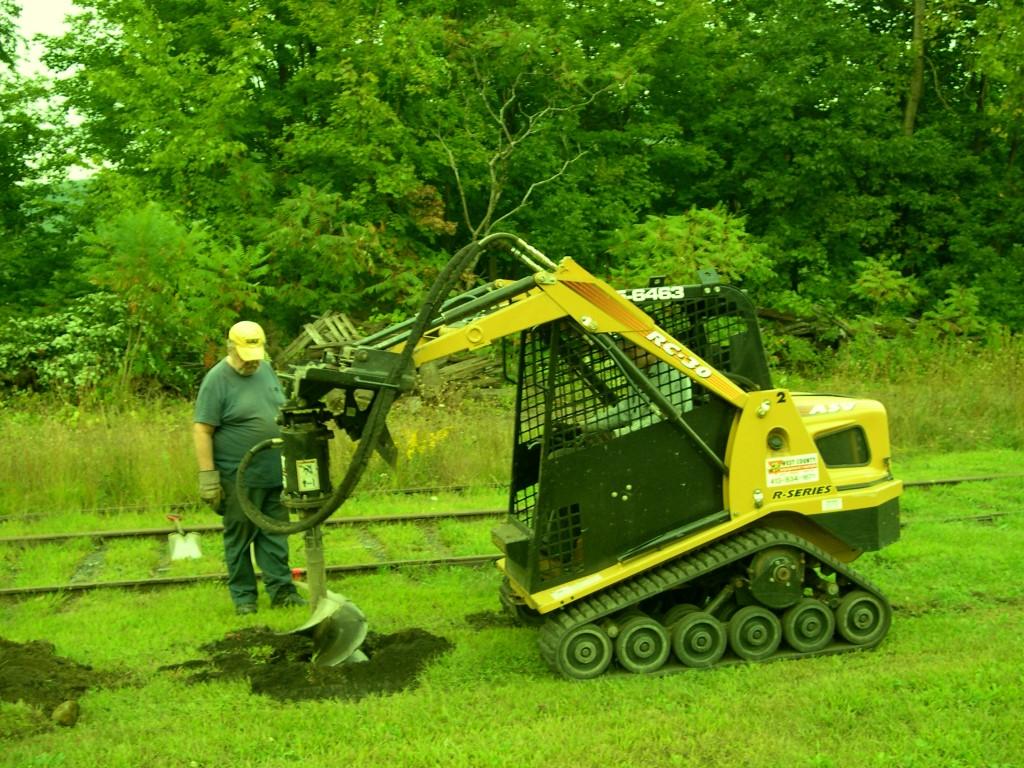
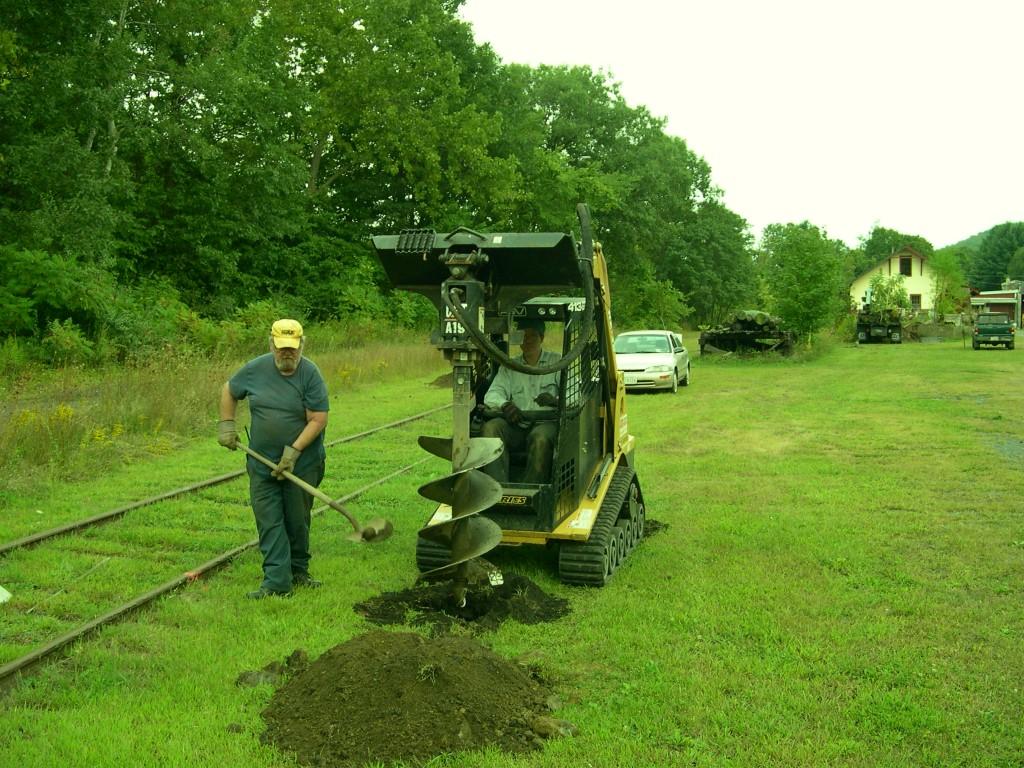
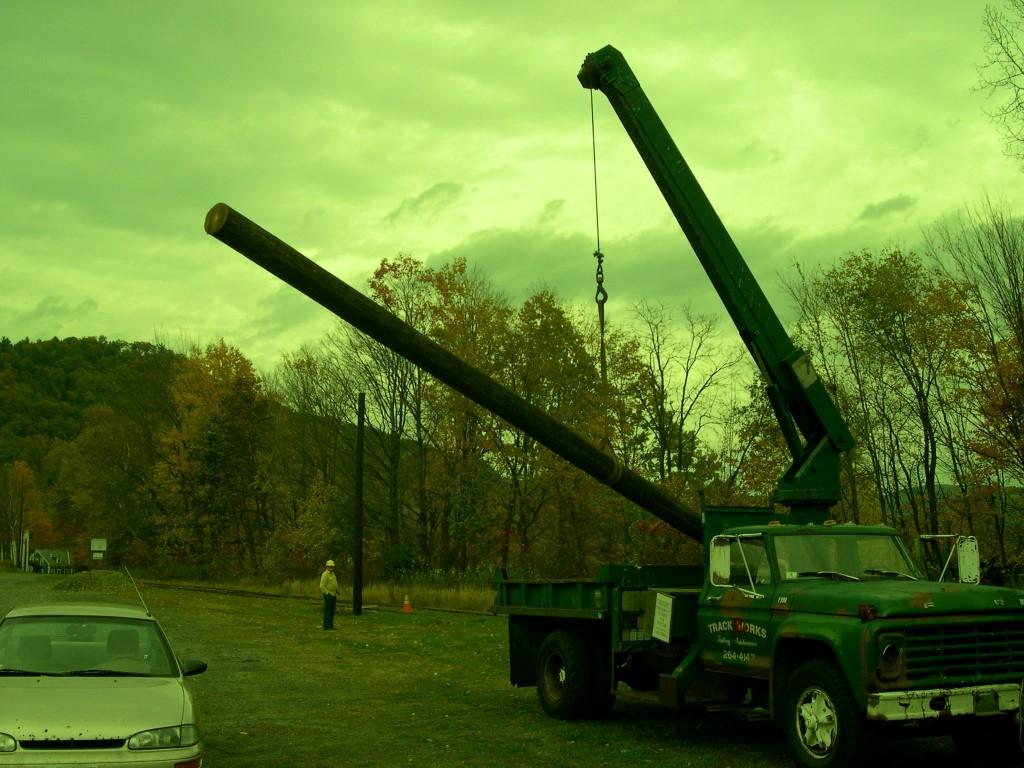
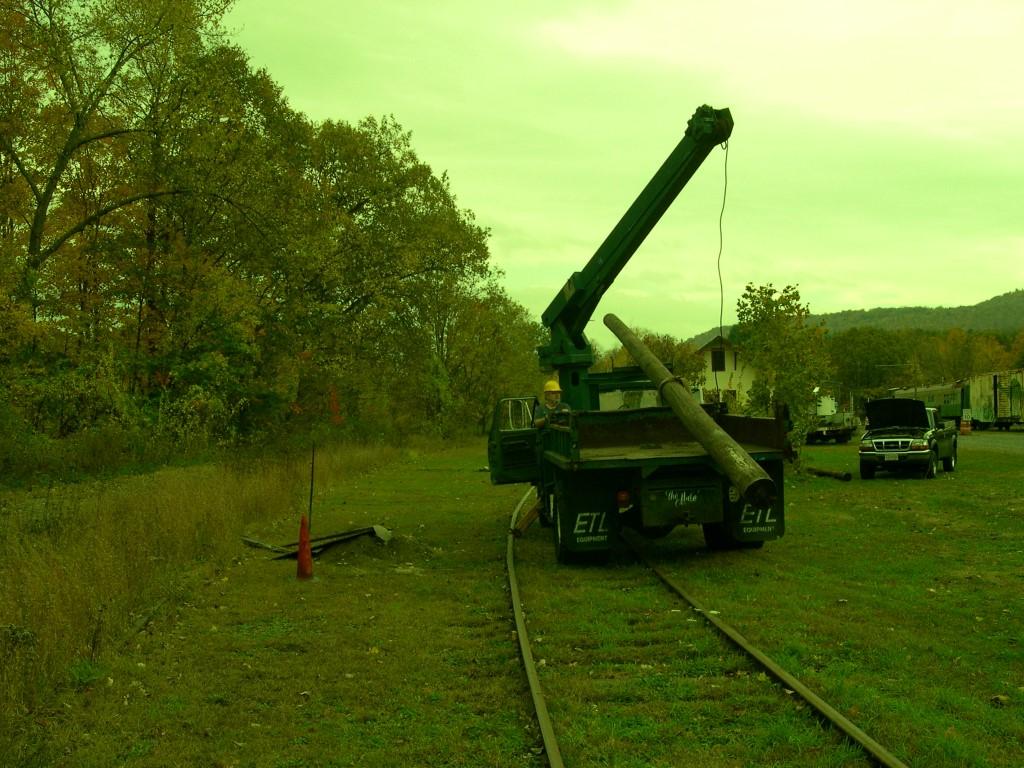
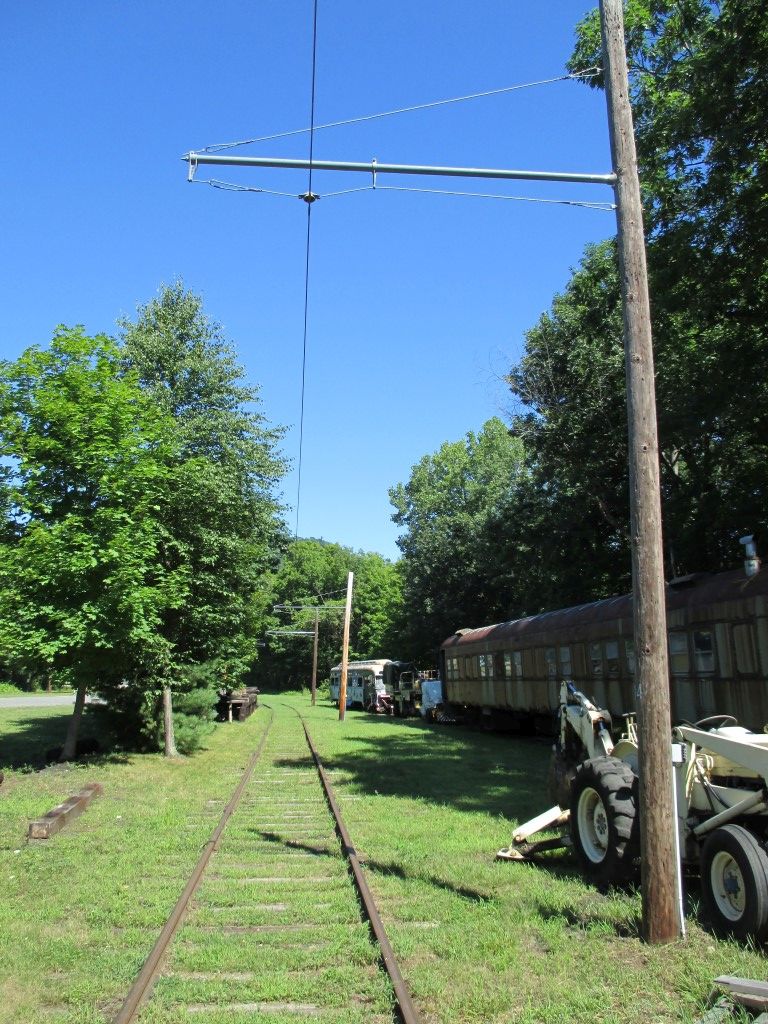
In September 2007 we started putting up line poles for the new trolley wire. This involved drilling holes with a rented skid-steer-auger and placing the poles into them with our Boom Truck. Notice how much things along the House Track have changed since 2007!
John and Nate drill holes along the House Track.
The small skid-steer was not always a match for the larger stones buried in our yard. In this case it was easy digging.
Dave B oversees as a pole is readied for insertion.
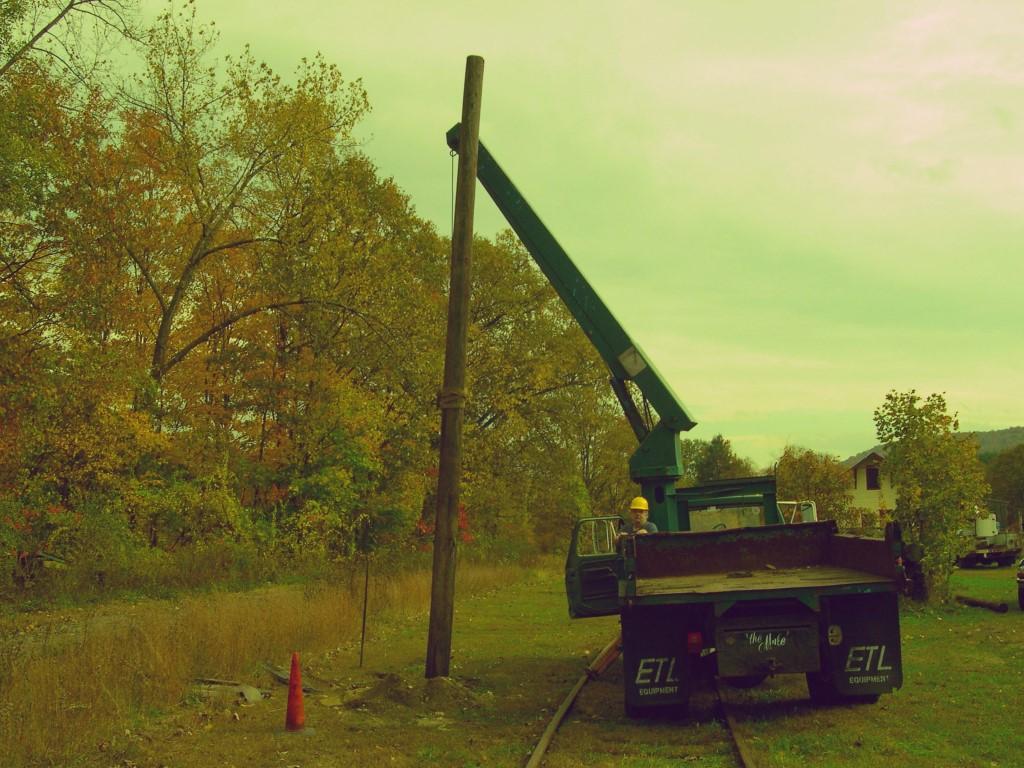
John is pretty handy with that Boom Truck.
We gave each pole some 'rake' away from the track so that it would be pulled closer toward vertical once the wire and bracket arm were installed.
John is waiting for directions, this pole needs to lean the other way.
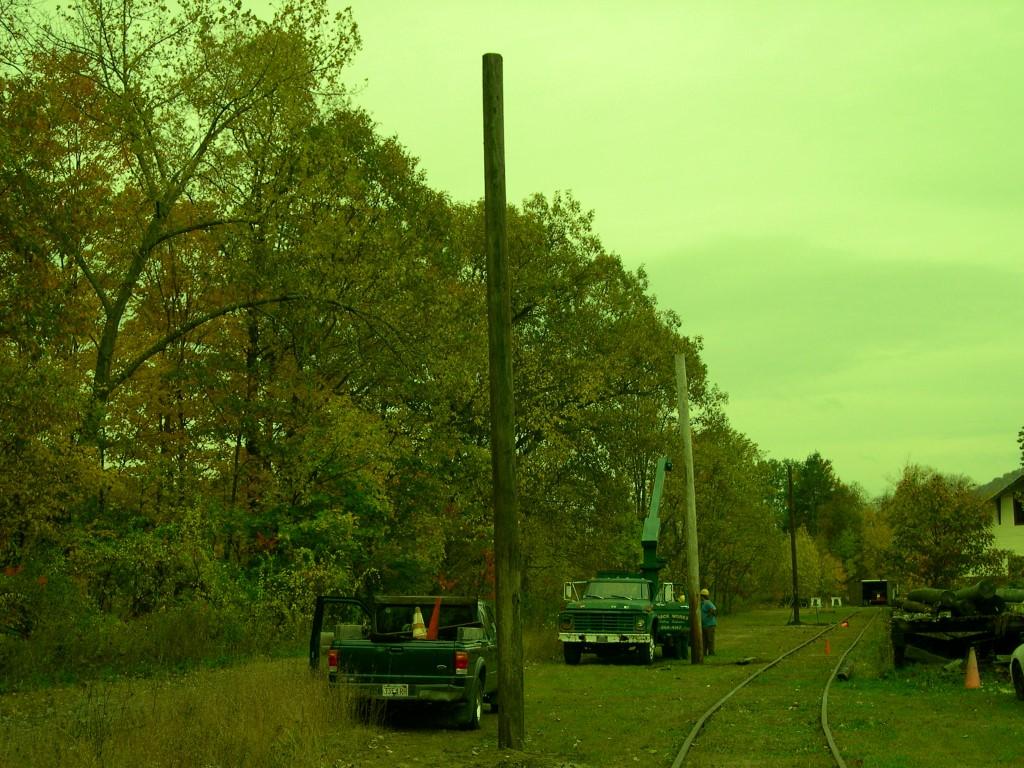
Three poles up, three to go.
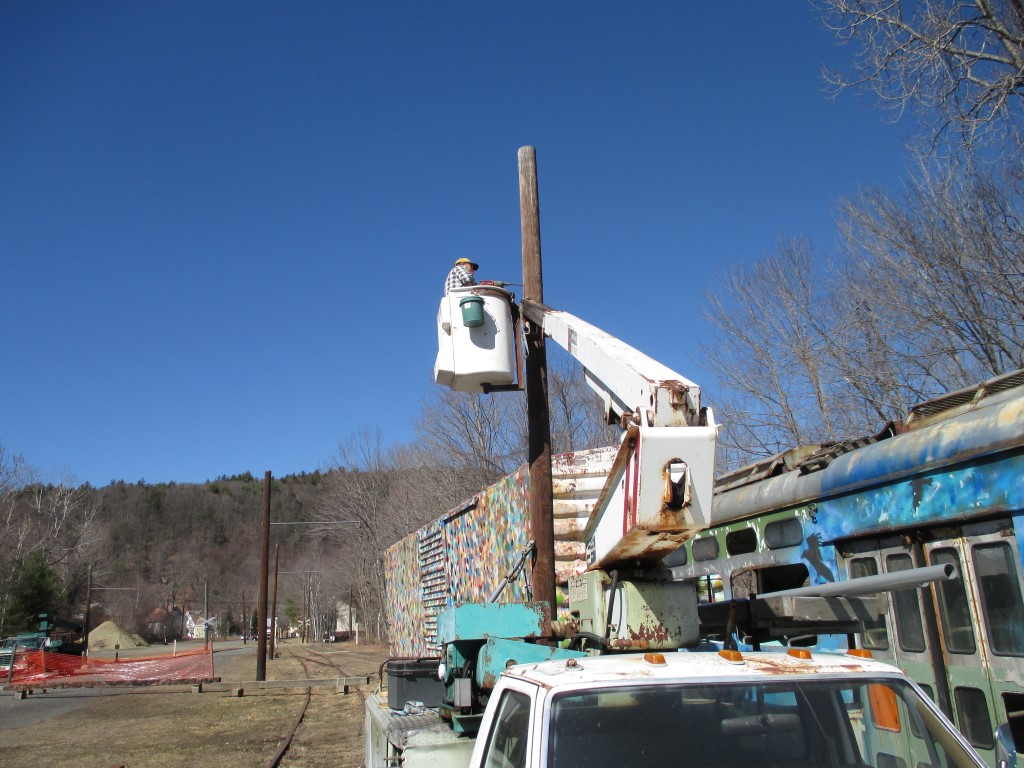
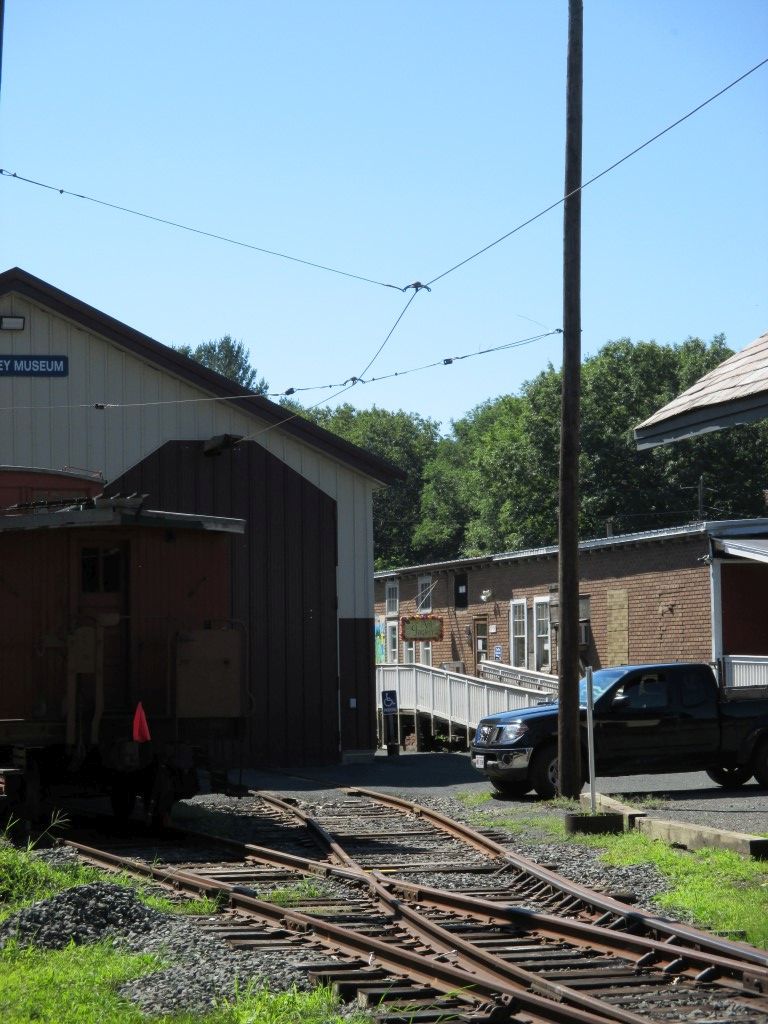
So those poles were up for many years before it was time to put up the wire, and we were busy building the new Carbarn and rebuilding the House Track. But in the Spring of 2016 we finished putting up the wire, thanks in part to a grant from the Amherst Railway Society for the 1000' of 00 grooved copper wire. The next set of pictures show how we got the bracket arms installed, thanks to Fred Perry for showing us how in 1999 when we did the Main Track. Sure wish we'd had the Bucket Truck back then.
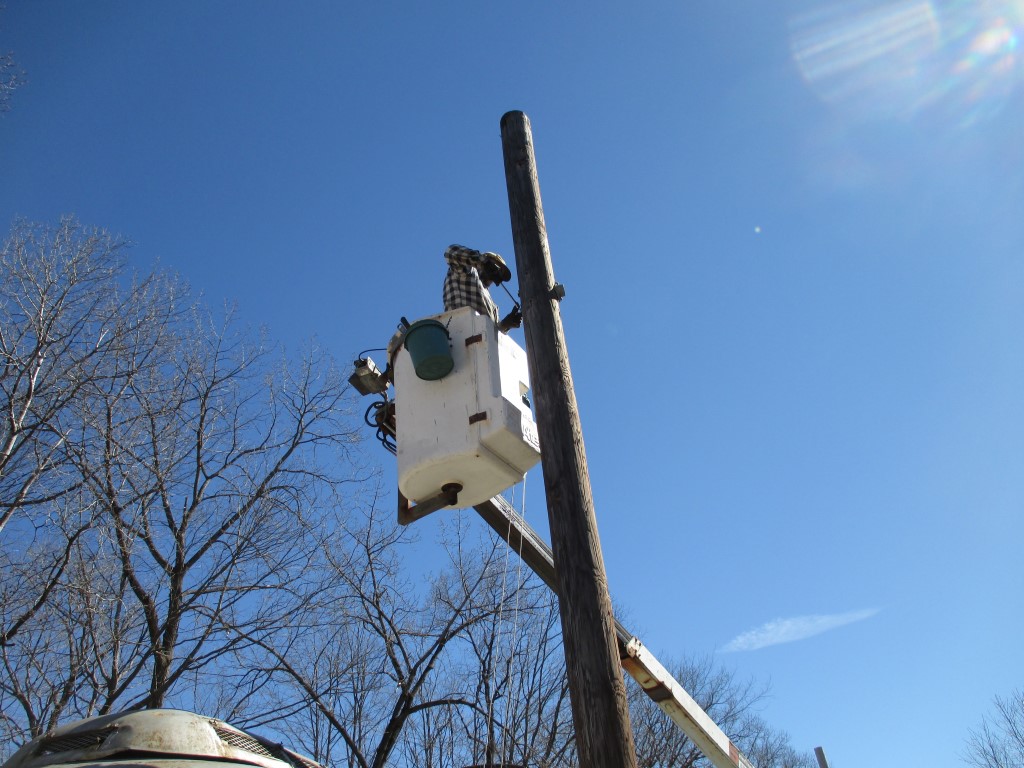
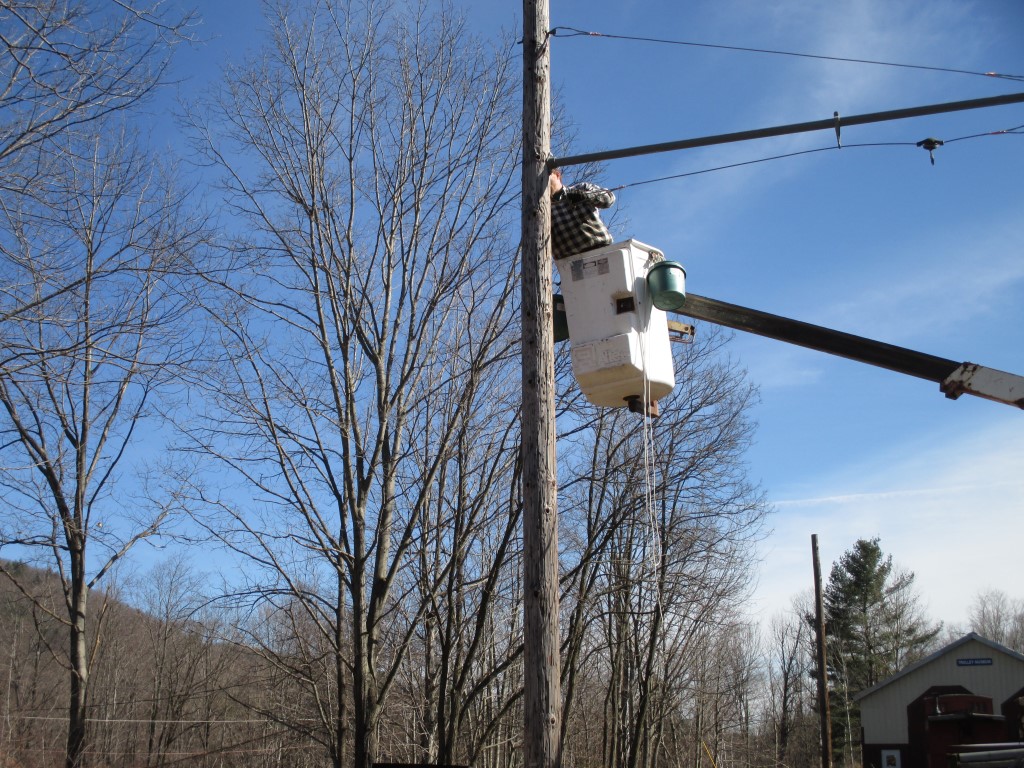
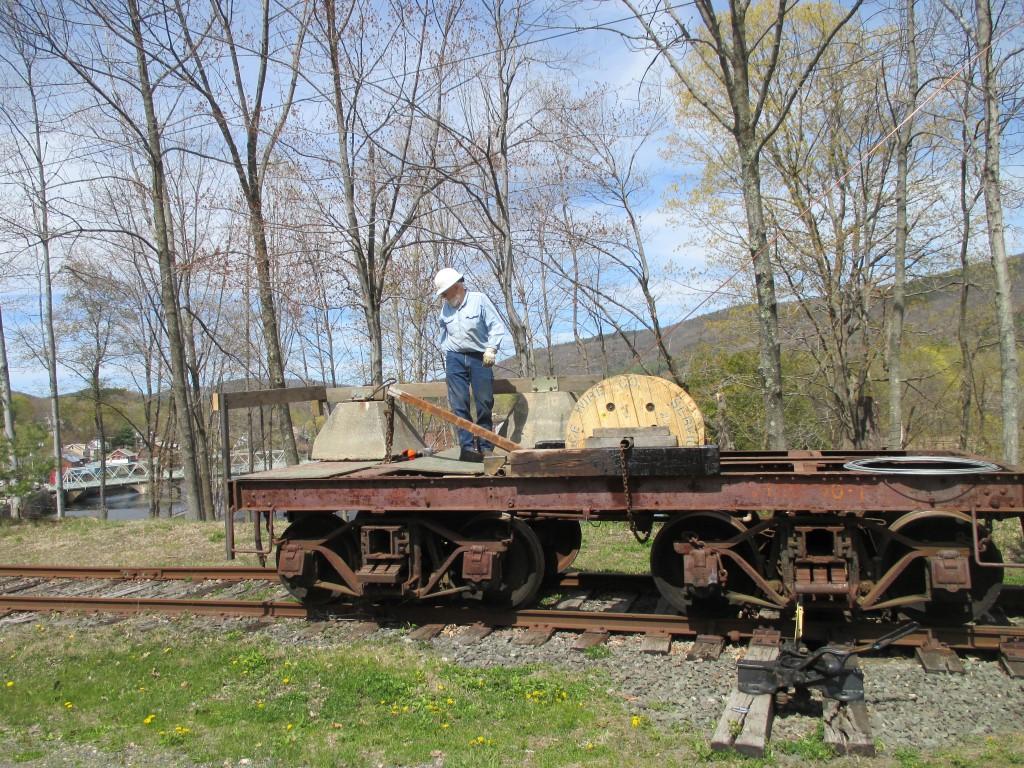
First you need to drill holes for the bracket arm socket and the eye bolts. This is best done on a beautiful spring blue-sky day.
Then install the socket that will hold one end of the bracket arm.
Having already assembled the bracket arm with its end-cap and stand-off and cables, install the diagonal cable into the top hole.
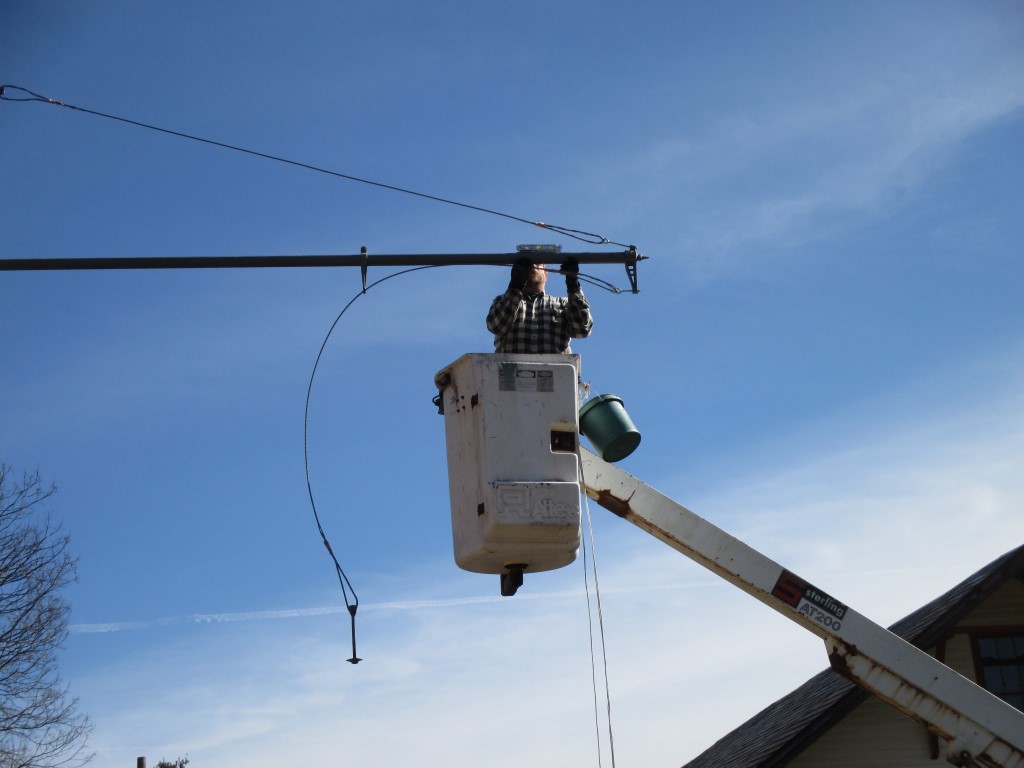
Hoist the bracket arm up and ...
stick the end of the bracket arm into the socket.
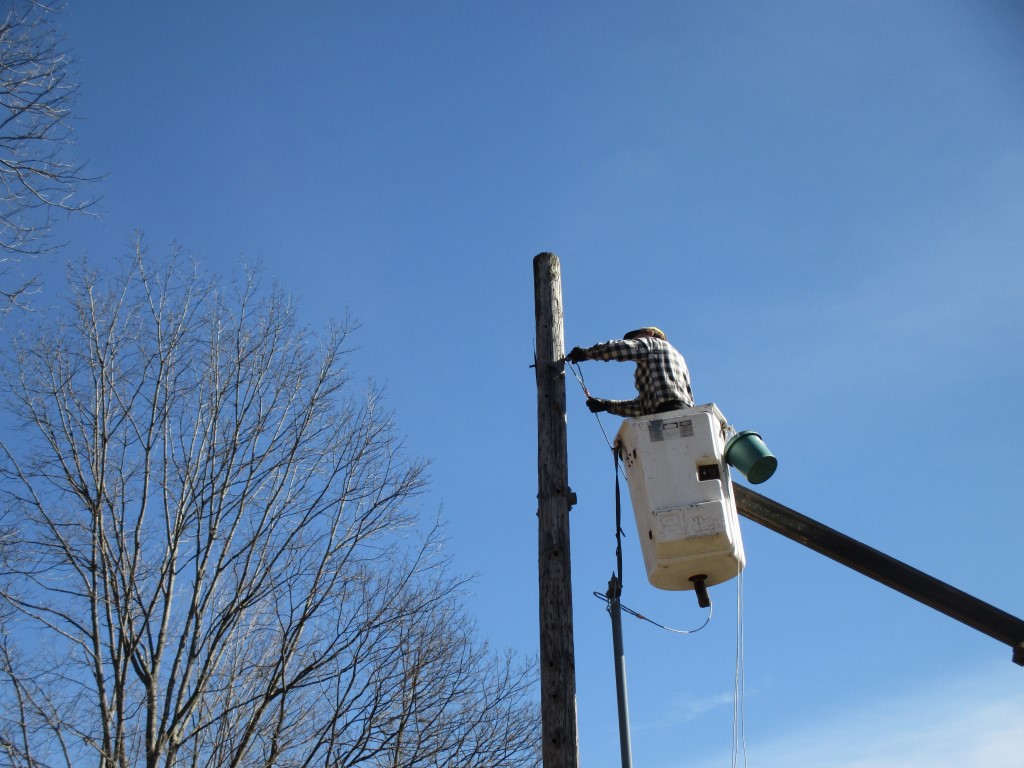
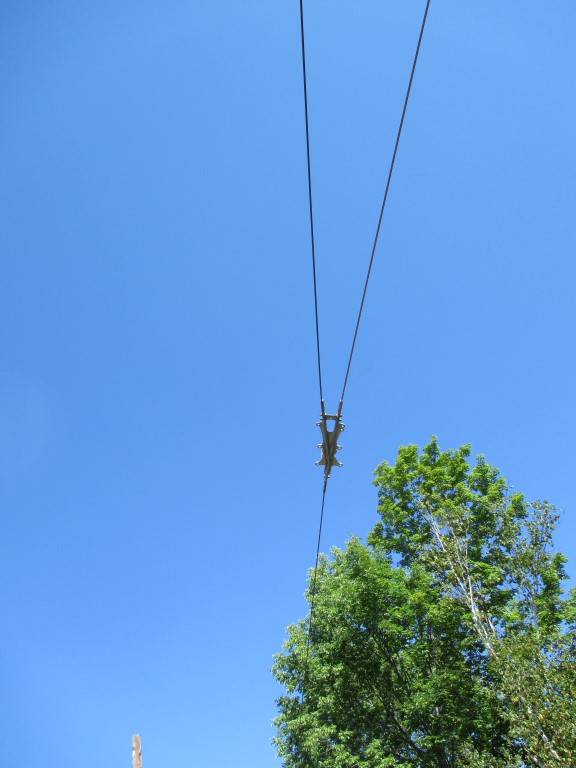
Adjust the diagonal cable so that the arm is a bit high on the outer end, since it will come down when the wire is added.
Put the hanger on the lower span cable, adjust its position relative to the track center and install the span wire's eye bolt into the pole.
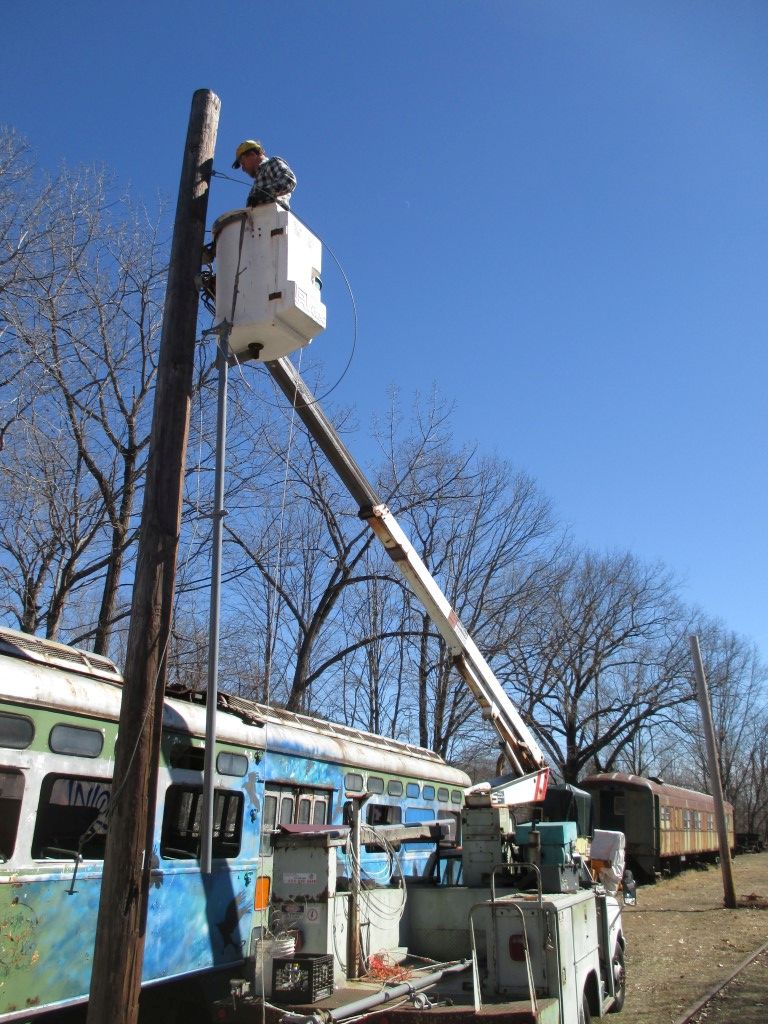
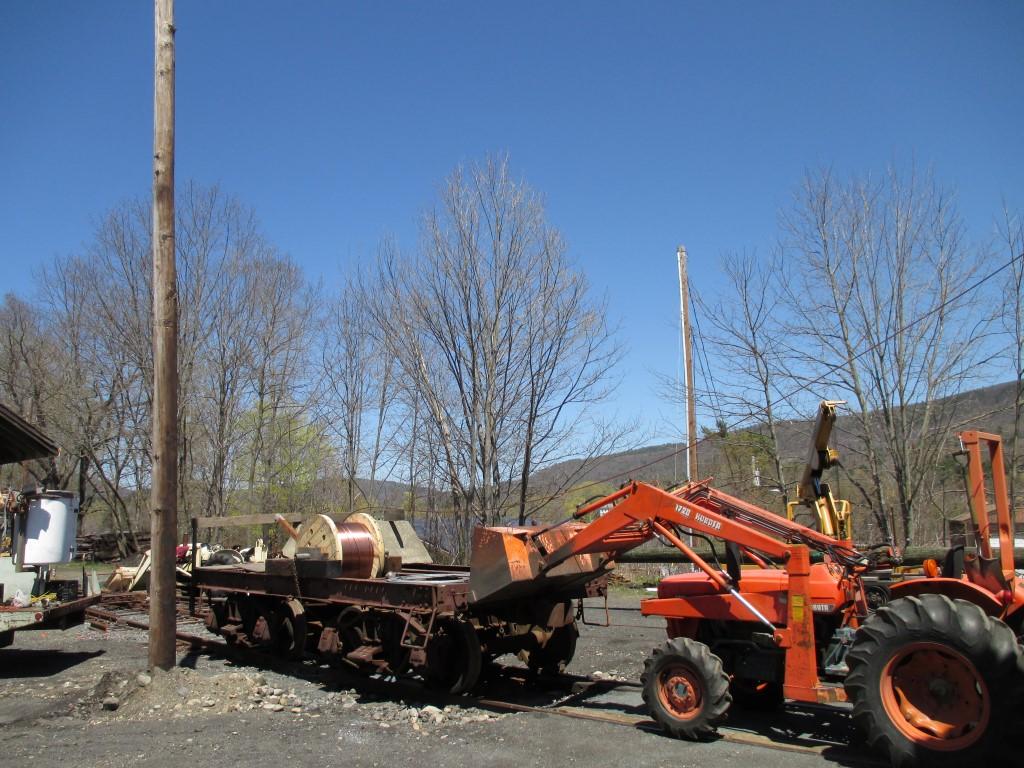
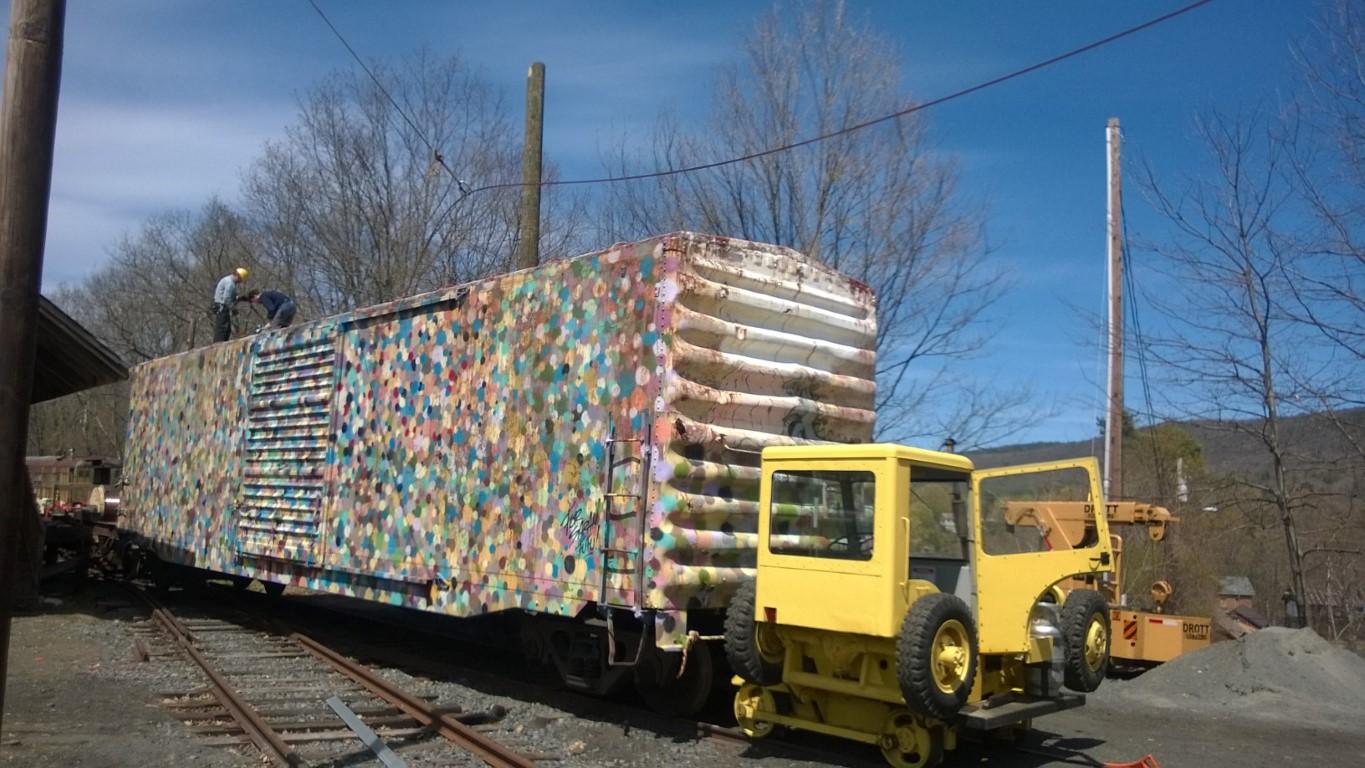
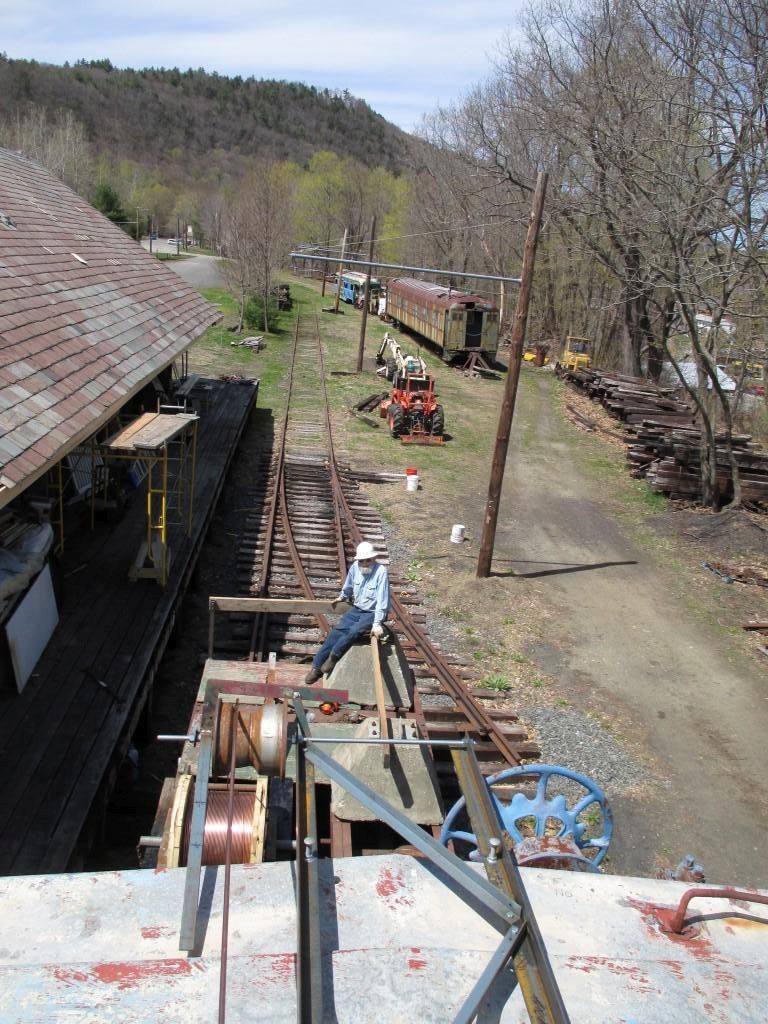
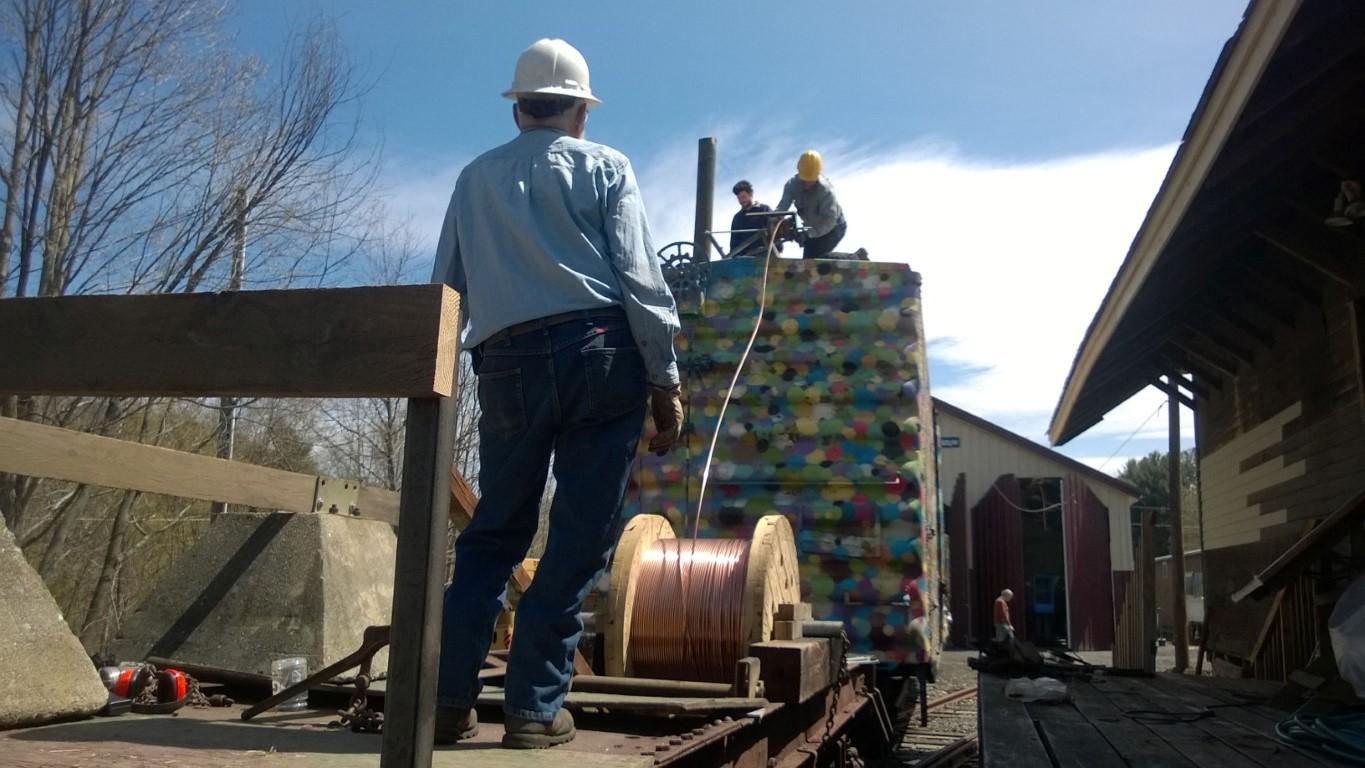
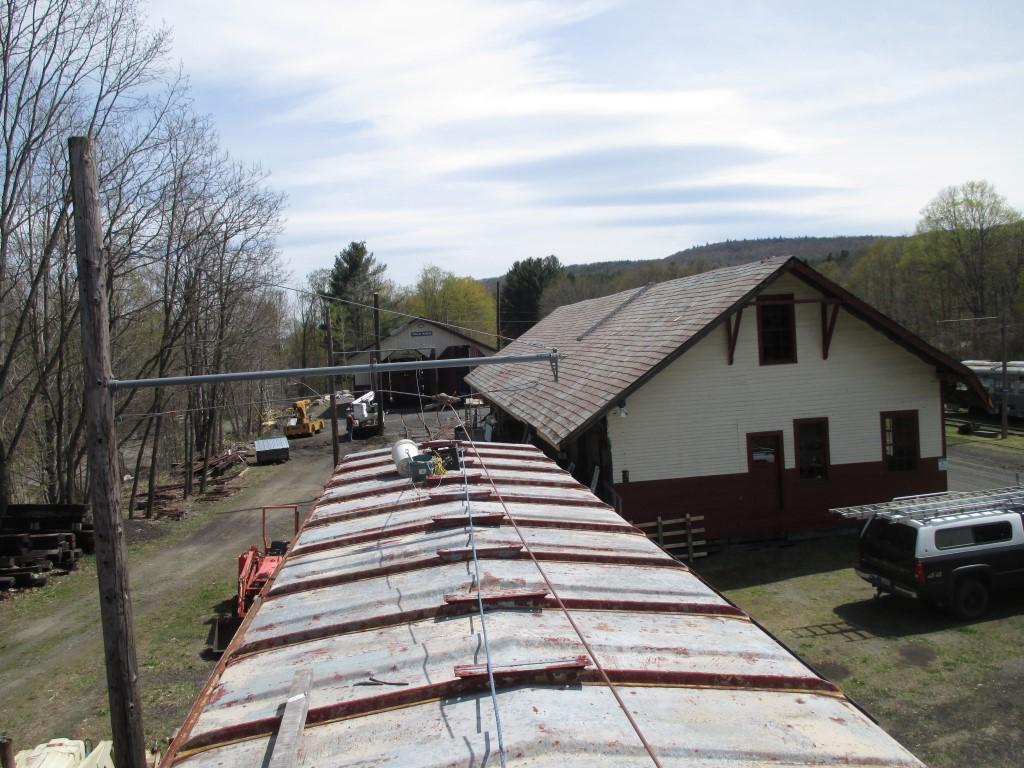
Next we needed to pay out the wire from the 800 lb spool it came on. We needed to do this with some tension on the spool so the wire didn't hang down to the ground. We mounted the spool on our flatcar (once a tender for a Hoosac Tunnel and Wilmington Railroad engine) with a wooden lever against the rim for a brake. This turned out to be just barely adequate for preliminary tensioning. We rigged up a wheel on the roof of our boxcar so that the wire would be raised up to about the final desired height (17 to 19 feet) and then we could use the boxcar roof as a work platform. The 3TM trackmobile would power this 'wire train'. But the 3TM and the boxcar of this 'wire train' couldn't negotiate the tight curve past the Freight House dock into Stall Two, so we needed to start out by pushing the flatcar out of the stall with the tractor.
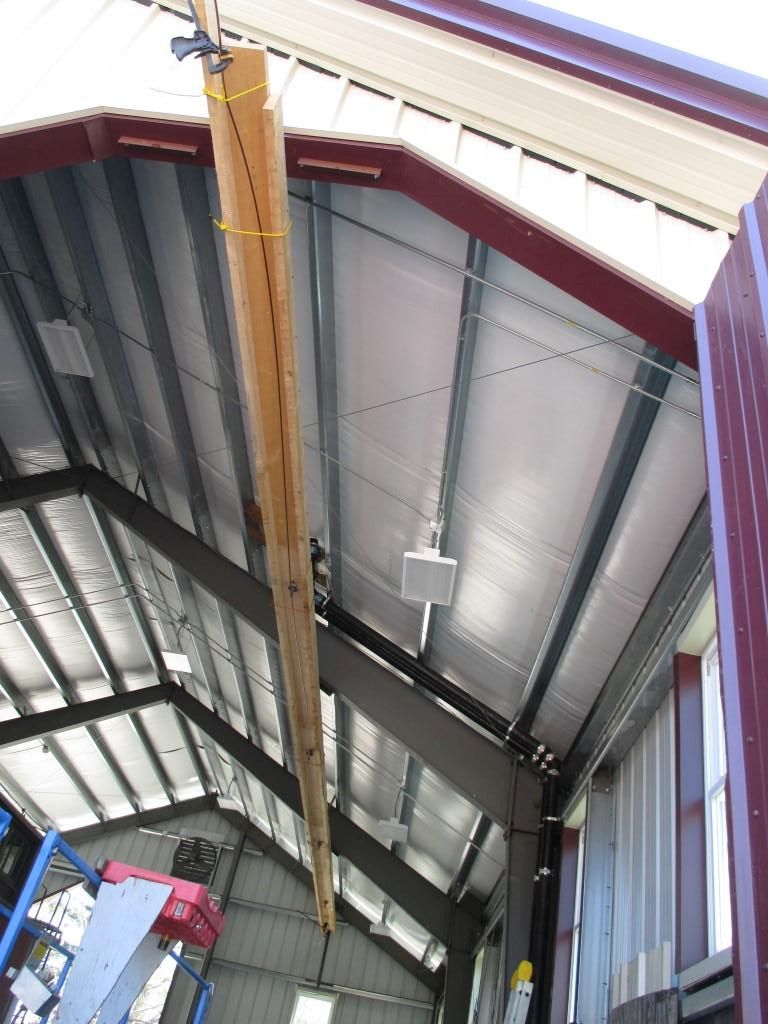
Here we have started with the wire roped to the wooden trough and anchored to the rear wall of the Carbarn.
The trough prevents a short circuit if the trolley pole dewires and hits the wire and the metal roof at the same time.
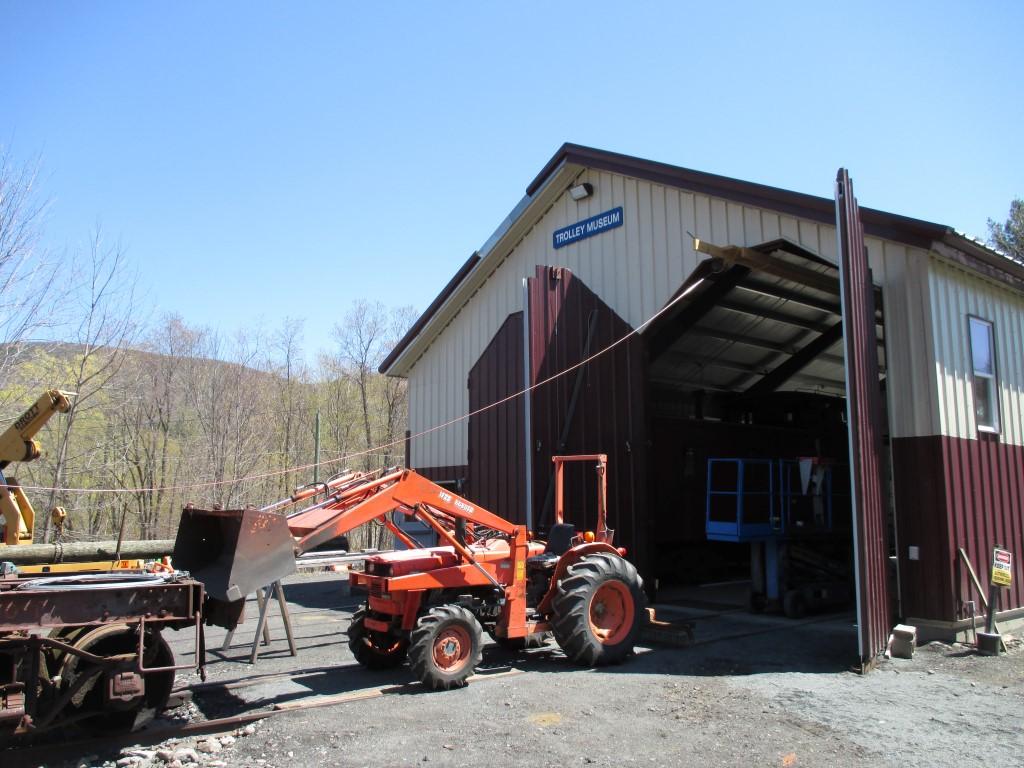
The tractor pushes the flatcar out of the Carbarn.
Here you can see how the spool was mounted, we just used wooden 'bearings' since we wanted the friction.
Now the trackmobile can reach the flatcar and pull it ahead so we can couple up the boxcar.
This view shows the guide wheel on the boxcar's roof. Notice that we are just using rope for now to pull the wire into rough alignment over the track.
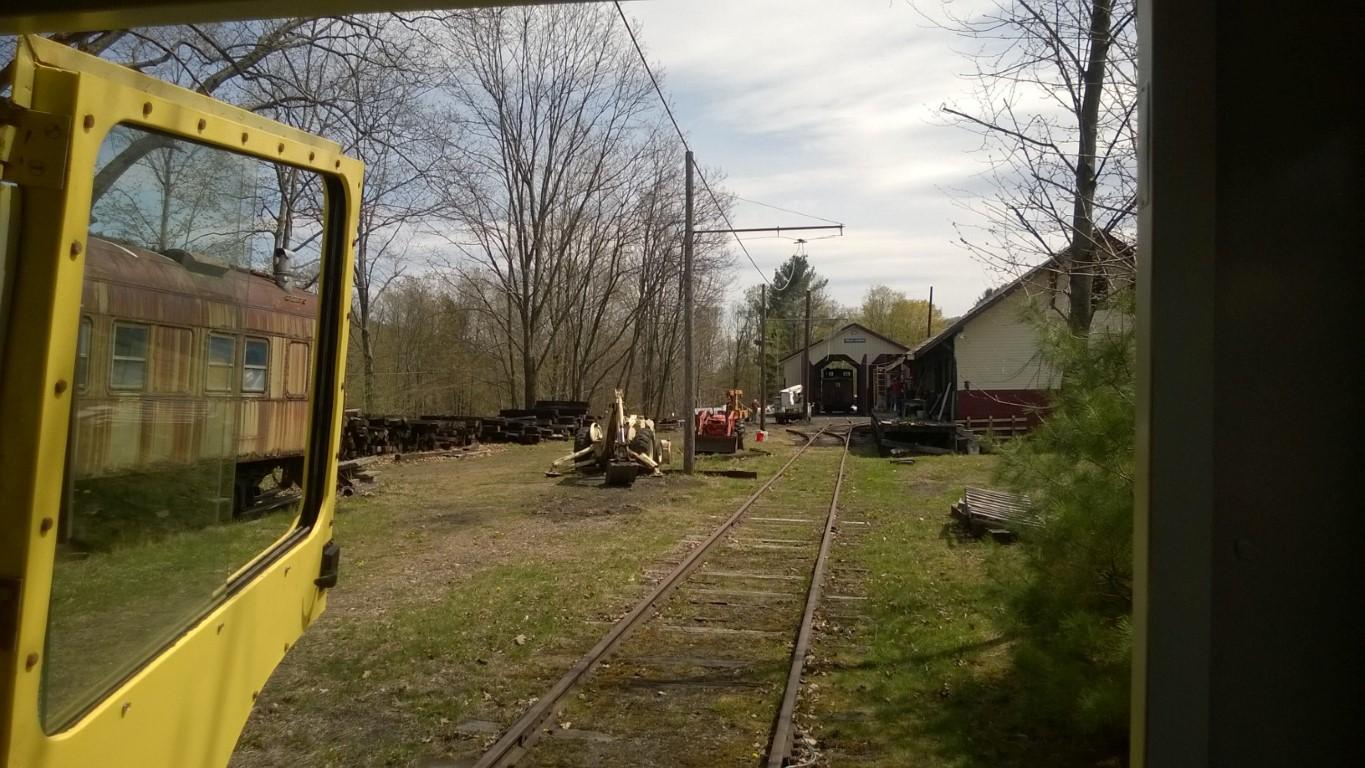
Here is the view from the Trackmobile back toward the Carbarn.
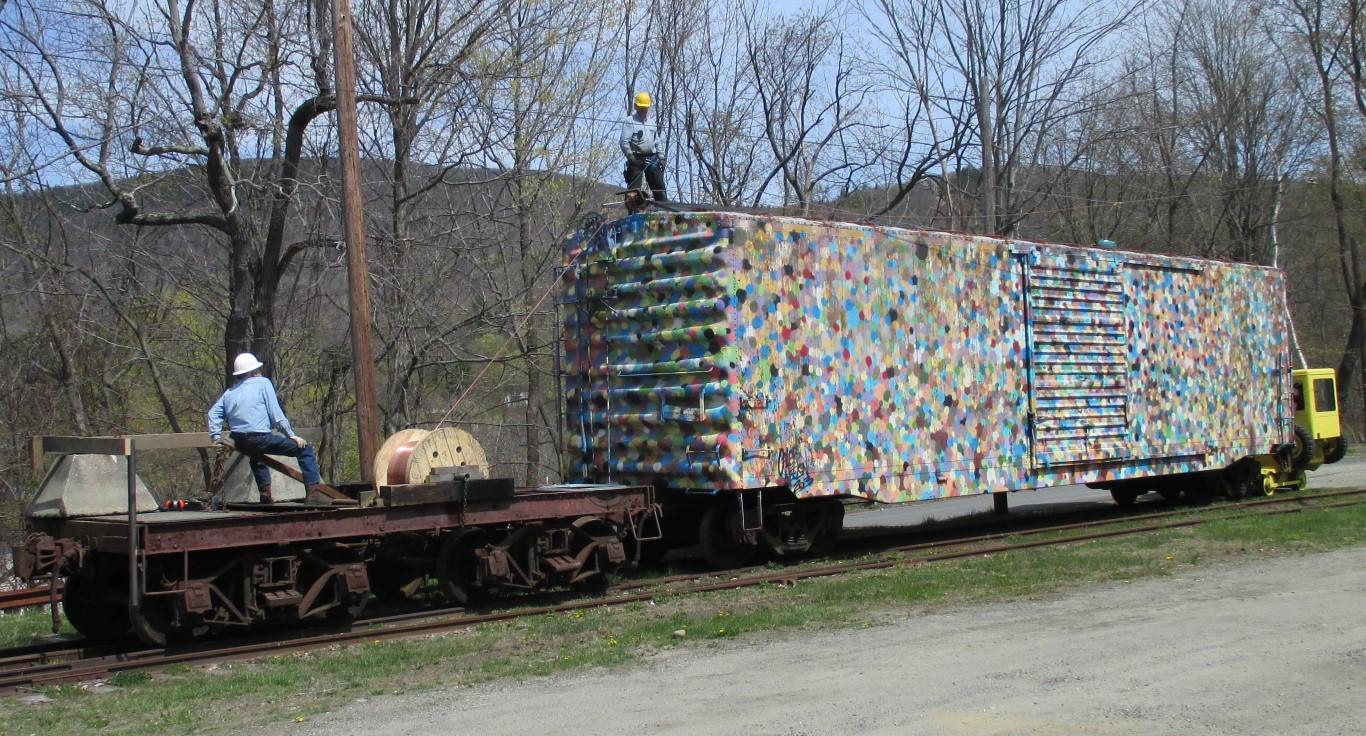
Now the Trackmobile can couple up the boxcar and head down the track. The workers on the boxcar roof were roped in at all times.
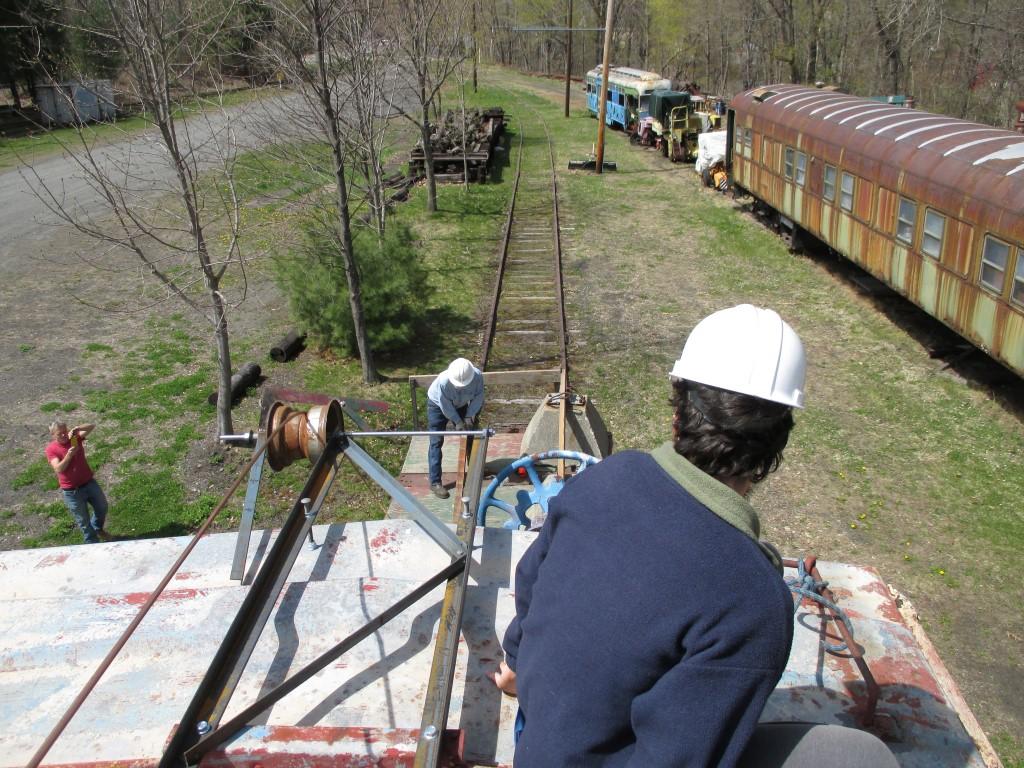
The view from the boxcar roof.
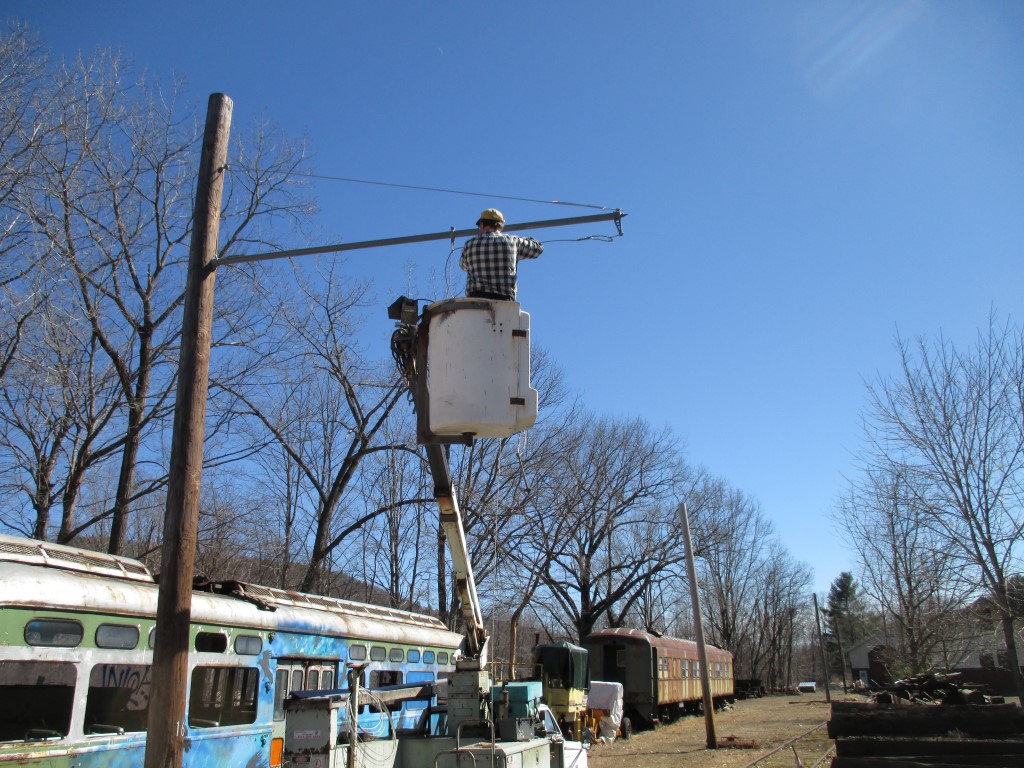
From this point on it went pretty smoothly.
Just be sure to duck under the bracket arms, the radios were handy for this part.
We would stop at each bracket arm and tie off the wire to the lower span wire.
At this point we just needed to keep the wire in rough position.
We would come back later to put it loosely in the clamps, then tension the entire wire
and then come back again and tighten the clamps up.
Here is a movie of how it was on top of the boxcar moving from bracket arm to bracket arm.
Looking at the untensioned wire from the Trackmobile at the rear of the 'wire train'.
Moving right along, looks like there is still some wire left on the reel.
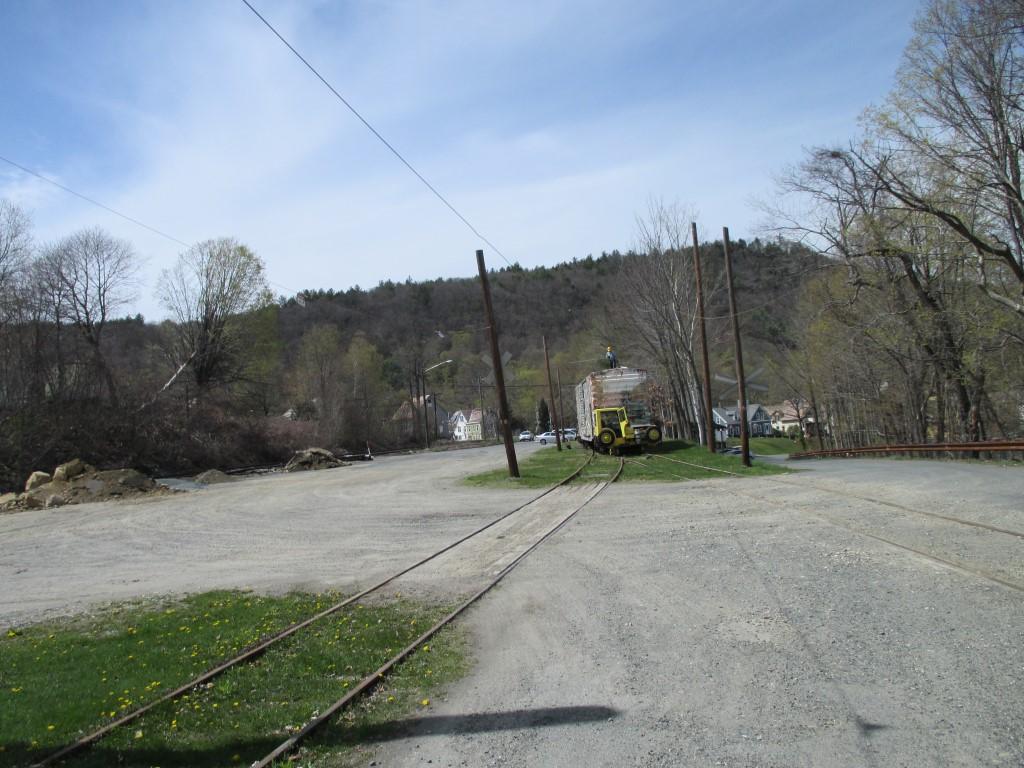
This movie shows the final move up to the wire frog position.
It is hard to see the new wire here, but it is there.
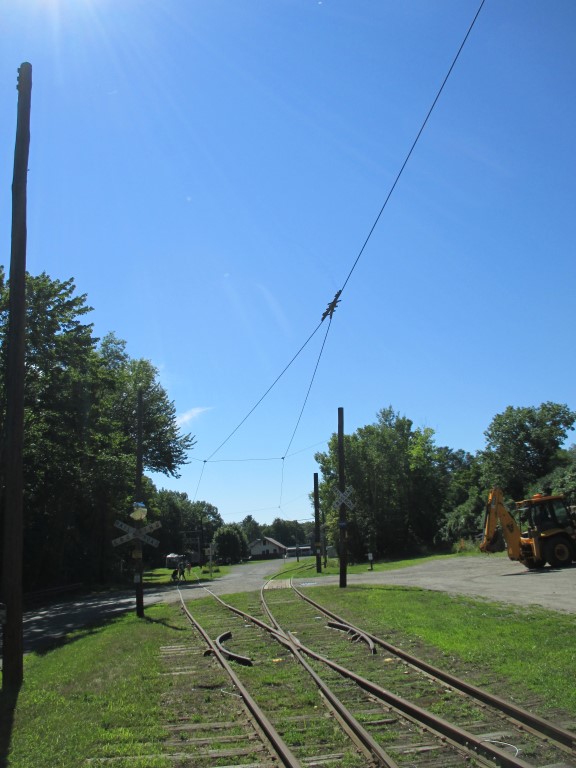
We next needed to place the wire frog where the two tracks meet.
At Turnout 2 we locked the reel and shoved the train a bit more west to get some additional tension.
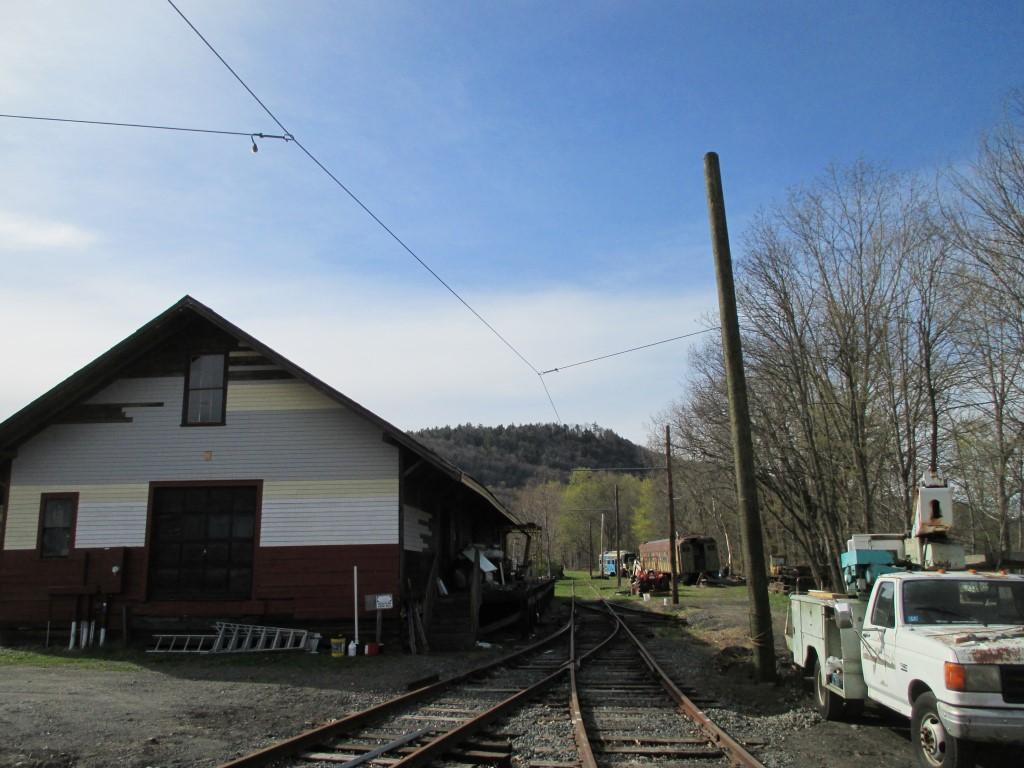
Here is the view looking west from the Carbarn.
We aren't going to put a wire in Stall One so there is no wire frog needed here.
The prior picture shows that we use ropes and carbiners to temporarily hold up the wire.
Here it is after we put up the needed span wires and pull offs.
Not a very smooth curve on the wire, but it works for our slow speeds.
Here are some completed bracket arms with their hangers and clamps all installed.
View looking toward the Carbarn.
The wire frog caused some trouble when we first put it in, but we relocated it closer to the track frog and it has been fine.